Under pressure, the temptation is to start changing things at random. A structured approach finds the fault faster: isolate by section, halve the signal chain each time, and change one variable at a time.
Isolate by halving the signal chain. Test a known-good source directly into the amplifier: if it plays, the fault is upstream. Change one variable at a time and keep a note of what you have already ruled out.
No sound at all
Check the obvious in order: power to the amplifier, master fader position, channel mute, and whether the source is actually playing.
Then halve the chain. Plug a known-good source directly into the amplifier. Sound means the fault is upstream in the mixer. Silence means the fault is amplifier or speaker.
Hum and buzz
A low hum at mains frequency is usually a ground loop, often caused by equipment on different circuits. A buzzier sound is frequently a lighting dimmer or a broken cable screen.
Try running everything from one mains circuit. Use balanced connections wherever possible, and use a DI box for long unbalanced runs.
Distortion
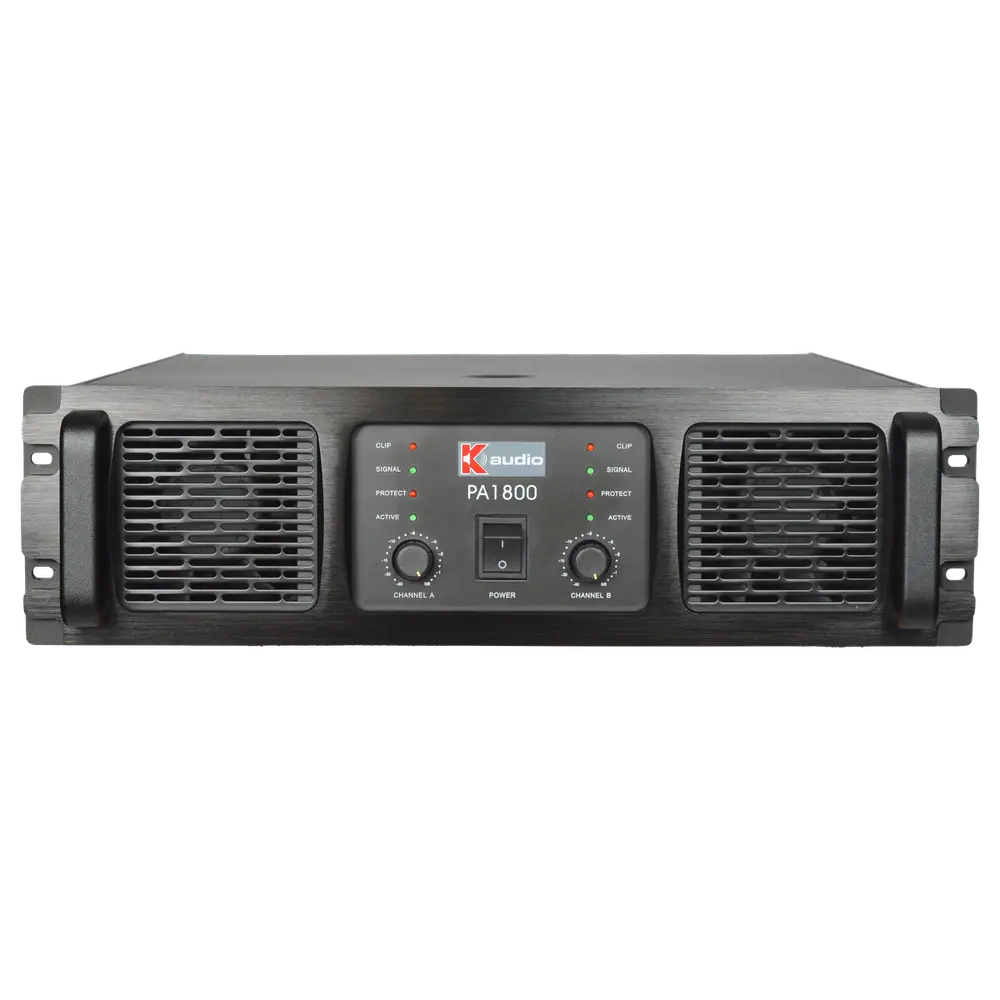
Find where the clipping starts. Watch the channel meter, then the master, then the amplifier clip LED. Whichever lights first is where you are overdriving.
If the amplifier clips before the speakers are loud enough, the amplifier is undersized for the application.
Wireless dropouts
Check batteries first, then antenna placement and line of sight, then scan for interference and change frequency.
Receivers hidden inside metal racks are a very common cause. Mount antennas where they can see the stage.
Intermittent channels and crackle
Usually a cable or connector rather than the electronics. Swap the cable first, then the input, then the source.
Label and retire suspect cables immediately. An intermittent cable put back in the box will waste an hour at the next event.
| Symptom | Most likely cause | First check |
|---|---|---|
| No sound anywhere | Amp off, master down, or muted | Amp power and master fader |
| One channel dead | Cable or connector | Swap the cable |
| Hum | Ground loop | Run all gear from one circuit |
| Buzz | Dimmer or broken screen | Isolate lighting, swap cable |
| Distortion | Clipping somewhere in chain | Meters and clip LEDs in order |
| Wireless dropout | Battery, antenna, interference | Battery then antenna position |
| Crackle | Intermittent cable | Replace and retire cable |
A repeatable diagnostic method
Split the chain in half and test the midpoint. If the fault is present, it lies upstream. If not, downstream. Repeat and you locate the fault in a handful of steps rather than dozens.
Change only one thing at a time and put back anything that did not fix it. Changing several things at once means you never learn what the actual fault was.
Write down what you have eliminated. Under pressure it is easy to retest the same thing twice.
Building a fault-finding kit
Carry spare XLR and speaker cables, a known-good microphone, a small line-level source, spare batteries and a torch. Most faults are resolved by substitution.
A cable tester saves considerable time and costs little. Test every cable after an event rather than discovering the fault at the next one.
Keep a spare amplifier channel available in installations that must not fail, either as a hot spare or a patchable reserve.
Preventive maintenance that avoids faults
Clean amplifier air filters and check ventilation quarterly. Thermal failures are the most common amplifier fault and are almost entirely preventable.
Check speaker mounting hardware annually, particularly in gyms and halls where vibration loosens fixings.
Retire cables at the first sign of intermittency. A suspect cable returned to the box will cost you an hour at the worst possible moment.